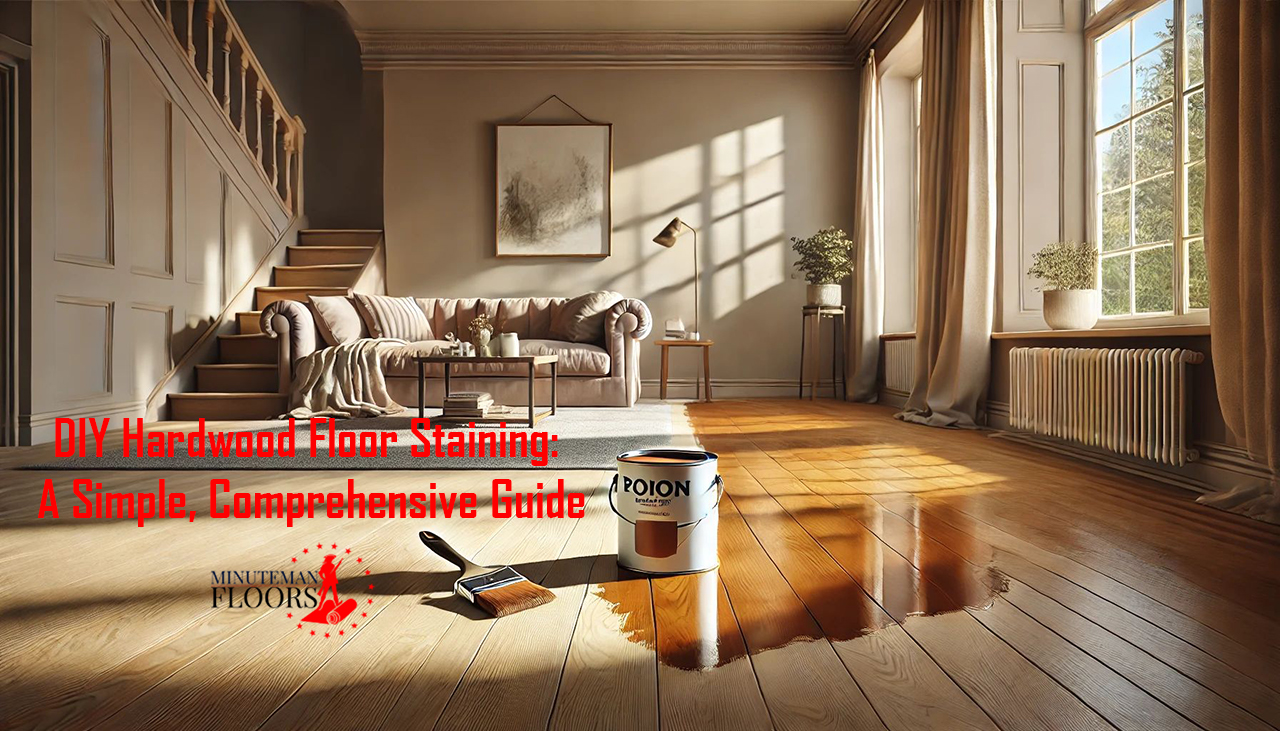
Staining your hardwood floors is one of the quickest and most cost-effective ways to transform your home’s interior or rejuvenate the warm, natural beauty of worn-out wood. If you’ve decided to tackle DIY hardwood floor staining, this detailed guide will walk you through each step—from selecting the right stain color to applying the perfect finish—so you can achieve professional-level results without the professional price tag.
Still weighing the pros and cons? Check out our professional vs. DIY hardwood floor staining resource to help you make the best choice for your budget and skill level. Not a fan of do-it-yourself projects, or simply short on time? Minuteman Floors is here for you! Our experienced team in Manchester, NH offers hassle-free hardwood floor transformations, guaranteeing a beautiful, long-lasting finish that matches your style and schedule.
Factors to Consider Before Starting Your DIY Hardwood Floor Staining Project
Staining your hardwood floors not only elevates their visual appeal but also adds an extra layer of protection and can increase your home’s value. If you’re still deciding whether to stain your floors, check out our guide on Choosing Between Stained vs. Natural Hardwood Flooring for more insights.
However, before you dive into your DIY hardwood floor staining project, remember that each wood species interacts with stain differently:
- Oak Floors
Absorb stains evenly and work well with a variety of colors, making oak a popular choice for beginners. - Pine, Hickory, and Maple
Floors
These woods can be tricky to stain due to uneven absorption. If you’re aiming for a flawless finish, consider getting help from an experienced professional. - Walnut
Floors
Walnut is naturally dark, so dramatic color changes are limited. Clear or lightly tinted stains usually offer the best results to restore its rich hue. - Cherry
Floors
Cherry hardwood darkens naturally over time, so heavy stains can overpower its intrinsic beauty. Light stains or clear finishes typically work best.
By recognizing these variations and choosing the appropriate stain or method, you’ll set yourself up for success before you even begin.
DIY Hardwood Floor Staining Preparation
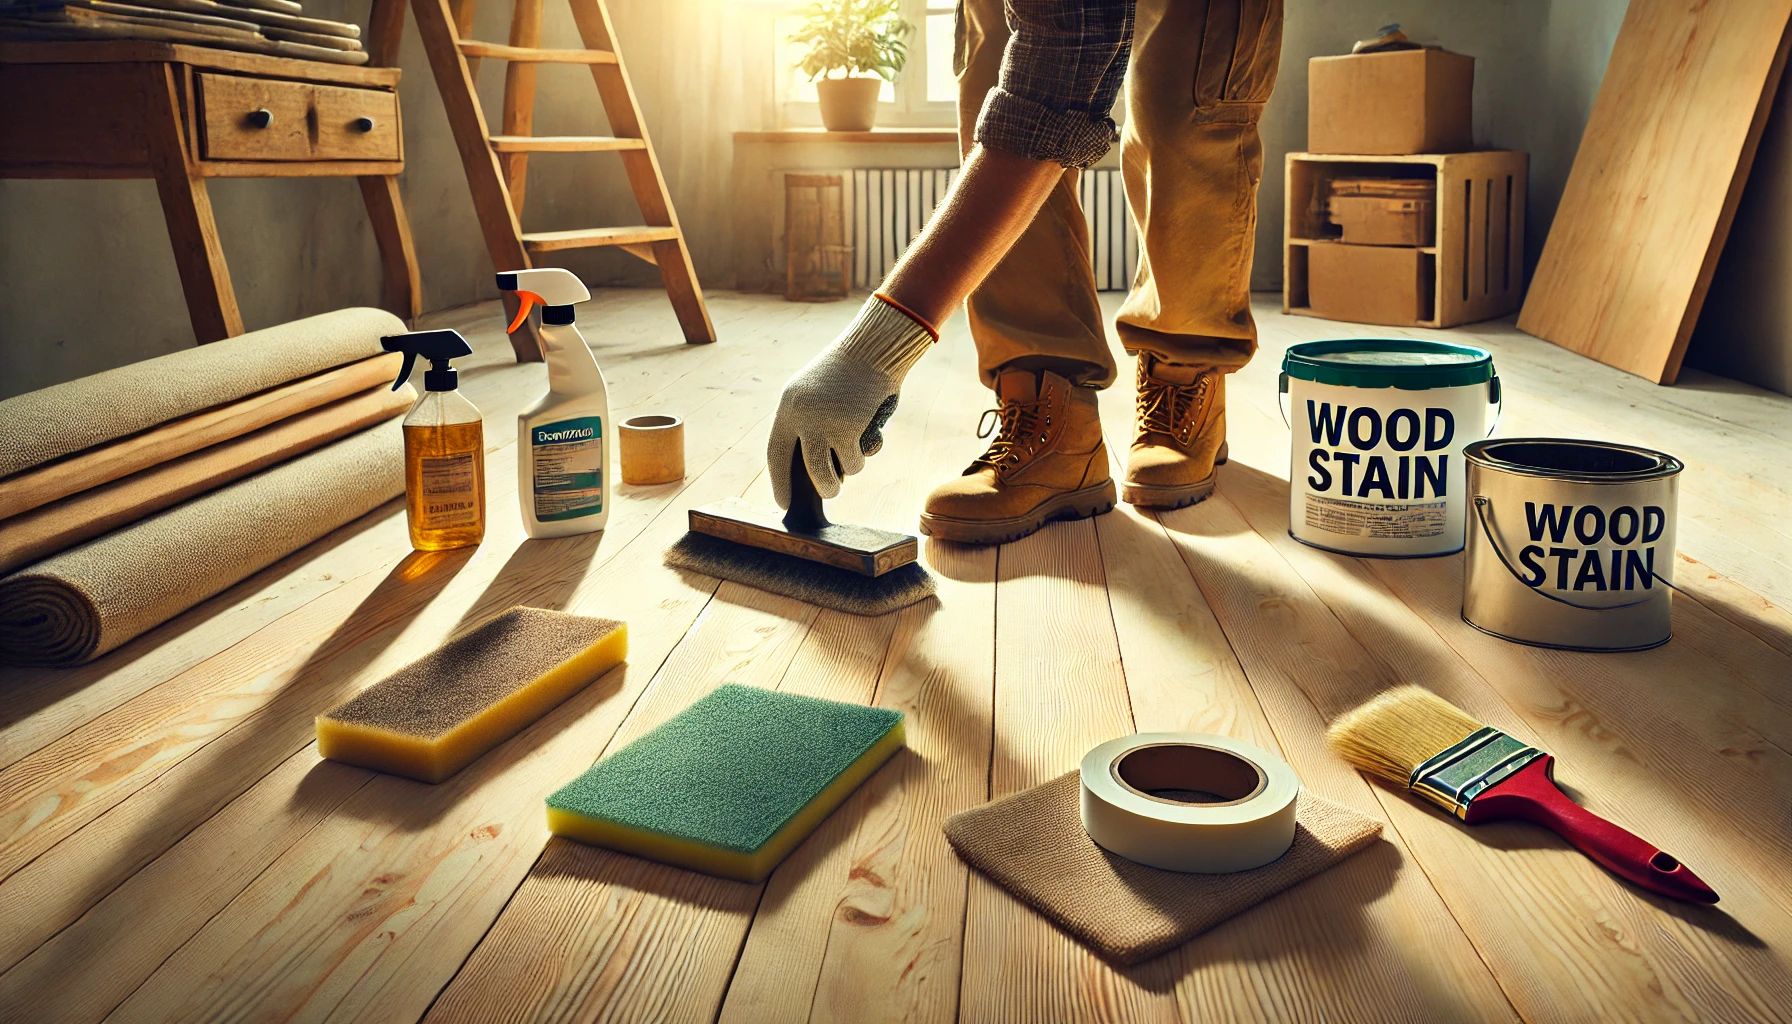
Essential Tools and Materials
Gather the following items to ensure a smooth and efficient staining process:
- Sandpaper (coarse, medium, fine) or an orbital/drum sander for larger areas
- Vacuum cleaner
- Tack cloths or microfiber cloths
- Paintbrushes, rags, or foam applicators
- Paint tray or bucket
- Protective gear (gloves, goggles, dust masks)
- Wood stain of your choice
- Wood conditioner (especially for species prone to blotching)
- Wood-safe floor cleaner
- Protective finish (e.g., polyurethane or wax)
Assess the Floor’s Condition
- Inspect for
Damage
Look for scratches, dents, water stains, or other imperfections. Address these issues first to ensure a smooth, even final result. (Need help? See our article on Hardwood Flooring Damage and How to Fix It.) - Check for Existing
Finish
If your floors have a previous finish or stain, you’ll need to sand them thoroughly until the surface is bare wood. - Feel for
Irregularities
Run your hand across the floor to detect rough spots or uneven sections that may need extra sanding.
Taking the time to fix damage and remove old finishes will help your new stain adhere evenly and look its best.
Cleaning and Sanding the Floor
- Clear and
Clean
Empty the room and vacuum or sweep the floor to remove debris. Use a wood-safe cleaner to eliminate any grime or grease. - Initial
Sanding
Begin sanding in the direction of the wood grain using coarse-grit sandpaper. This step removes older stains, finishes, and any surface imperfections. - Progressive
Sanding
Vacuum the floor, then switch to a medium-grit sandpaper for a smoother surface. Repeat once more with fine-grit paper for a polished feel. - Final
Cleanup
Vacuum thoroughly to remove all dust particles, then wipe down the floor with a tack cloth. Your surface should be pristine and ready for staining—any leftover debris can cause uneven color or texture.
Following these preparation steps diligently ensures your DIY hardwood floor staining project goes off without a hitch, giving you a professional-grade finish every time.
How to Stain Hardwood Floors Yourself: A DIY Tutorial and Tips
Ready to give your floors a brand-new look? Once you’ve finished sanding and prepping your hardwood, follow these simple steps to stain like a pro.
1. Ensure Proper Ventilation and Safety
- Open Windows and
Doors
Proper airflow prevents the buildup of strong fumes. If your space has limited ventilation, use fans to keep fresh air circulating. - Wear Protective
Gear
Gloves and goggles will guard against chemicals and dust, while a high-quality mask or respirator protects you from inhaling harmful fumes. - Cover Surrounding
Areas
Use plastic sheeting to shield vents, baseboards, or furniture from drips and spills.
2. Apply Wood Conditioner (If Needed)
Some hardwood species—like pine or maple—may not absorb stains evenly. A wood conditioner ensures a consistent, blotch-free result:
- Apply a Thin
Layer
Use a brush or clean cloth to cover the floor evenly. - Wait 5–15
Minutes
Allow the conditioner to penetrate, following the manufacturer’s instructions. - Wipe Off
Excess
Remove any extra conditioner to prevent pooling. - Proceed to
Staining
Don’t delay; the conditioner’s effectiveness will diminish over time.
3. Choose a Staining Method
After conditioning (if required), pick the technique that works best for your situation:
- Wiping
Apply stain in circular motions with a cloth or sponge, then wipe off any excess immediately for a soft, natural look. - Brushing
Use a high-quality brush, moving along the wood grain. Remove extra stain right away to prevent streaks. - Spraying
Ideal for large rooms or intricate details. A sprayer offers an even coat; blend areas with a cloth or brush as needed.
4. Tips for an Even Coat
- Test First
Try the stain on a hidden spot to ensure you love the color. - Small Sections
Work in manageable areas, wiping off excess stain before moving on. - Go With the
Grain
This technique helps the stain absorb smoothly. - Overlap
Edges
Slightly overlap each section to avoid lines or patches. - Check for Missed
Spots
Inspect the floor closely for inconsistencies and fix them right away.
5. Apply a Protective Finish
To lock in your newly stained floors and extend their lifespan, apply a durable finish such as polyurethane or a water-based sealant. (Learn more about different types of hardwood flooring finishes.)
- Let the Stain
Dry
Drying times vary, so follow the product guidelines. - Lightly Sand
Once the stain is fully dry, use fine-grit sandpaper to smooth the surface. - Apply the
Finish
Whether you brush, roll, or spray, watch out for puddles, streaks, or drips. Let the finish dry completely, which can take anywhere from a few hours to a full day. - Add Additional
Coats
If needed, apply a second or even third coat for extra protection. - Wait to Walk
Keep foot traffic off the floor for at least 2–3 days to allow the finish to cure.
Turn to Minuteman Floors for a Luxurious Hardwood Finish
If DIY seems daunting or you simply want a guaranteed flawless result, Minuteman
Floors in Manchester, NH has you covered. Our unique
refinishing and staining process delivers a stunning, long-lasting finish—with
zero hassle for you.
Call today for a free quote and let us
transform your hardwood floors into a showpiece you’ll be proud to show off!
FAQs About DIY Hardwood Floor Staining
1. Should I Use Water-Based or Oil-Based Stain for My Hardwood Floors?
Each option comes with its own set of pros and cons:
- Oil-Based Stains
- Deeper Penetration & Durability: Oil-based formulas generally soak into the wood more effectively, resulting in a longer-lasting finish.
- Longer Dry Times & Stronger Odor: Expect to wait extended periods before applying additional coats or walking on the floor, and be prepared for heavier fumes that require excellent ventilation.
- Water-Based Stains
- Quick Drying & Lower VOCs: These stains dry faster, emit fewer fumes, and often clean up easily with soap and water.
- More Coats May Be Needed: You might need multiple applications to achieve the same richness of color that oil-based stains provide in fewer coats.
2. What Factors Should I Consider When Choosing a Stain?
- Home
Décor
Select a stain color that complements your existing furniture, wall paint, and overall style. - Wood
Species
Different wood types—like oak, pine, or cherry—absorb stains uniquely. Test a small area first to see how the color looks. - Drying Time &
Ventilation
If you have limited time or poor ventilation, a quick-drying, low-odor product might be more practical. - Desired Maintenance
Level
Some stains and finishes require more upkeep over time, so consider how much effort you’re willing to invest in long-term care.
3. How Should I Deal with Uneven Staining or Blotches?
- Buff the Affected
Area
Lightly sand or buff the uneven spot to remove excess stain and create a smoother surface. - Apply a Fresh
Coat
Re-apply your chosen stain, making sure to blend it well with the surrounding area. - Feather the
Edges
Work in small, overlapping motions to avoid creating harsh lines where the new stain meets the old. - Use a
Conditioner
If blotchiness is a recurring issue—especially with tricky woods like pine or maple—apply a wood conditioner before staining.
4. How Long Does It Take for a Stained Hardwood Floor to Fully Cure?
- Initial Drying
Most stains are dry to the touch within 24 hours, but oil-based stains can take longer. - Full Cure
Even if it feels dry, your floor may need 2–7 days to cure, depending on humidity, temperature, and the stain type. Walking on the floor too soon can lead to scuffs or uneven coloration.
5. Can I Stain Prefinished Hardwood Floors?
- Yes, but Preparation Is
Key
Prefinished floors come with a factory-applied coating that must be completely sanded off before staining can penetrate. - Professional Help Might Be
Best
Removing the existing finish evenly can be challenging; if you’re uncertain, consider hiring experts like Minuteman Floors for a flawless result.
By following these tips and best practices, you’ll tackle common DIY hardwood floor staining challenges with ease and enjoy stunning, long-lasting floors. If you’re still unsure about any step, Minuteman Floors in Manchester, NH is just a call away for professional guidance or full-service assistance.
Restore Your Precious Hardwood Floors the Easy Way in Manchester, NH
At Minuteman Floors, we do more than just premium hardwood flooring installation, repair, refinishing, and staining—we make the entire experience hassle-free from start to finish. If you’re in the greater Manchester area in New Hampshire, simply give us a call at (603) 782 1942 or fill out our online contact form from the comfort of your home or office. We’ll schedule a free home visit at your convenience, where our experienced professionals will assess your flooring needs and provide expert recommendations on the spot.
Our goal is to save you time, money, and stress by delivering personalized solutions that fit your budget and style preferences. From restoring worn-out hardwood to installing brand-new floors, Minuteman Floors values your comfort and strives to exceed your expectations every step of the way. Let us transform your space and showcase the timeless beauty of hardwood flooring.