Removing old carpet can be a pain, especially if you don’t know what you’re doing.
Homeowners tend to have a do-it-yourself mentality, but too many homeowners try to rip up old carpet only to find themselves in the middle of the job with no end in sight.
For others, tearing out old carpet can prove to be backbreaking work that you just didn’t plan for.
Rest assured, you can remove your old carpeting and have an easy time of it with these expert tips. Here are the ways our flooring installation experts remove your old carpet. The process will leave behind a nice subfloor underneath that is ripe for a quality new floor installation.
Gather the Essential Tools
Before you start ripping up that old shag from the seventies, gather proper tools. These supplies will make every step of the carpet removal process easier on your fingers, joints, muscles, and back.
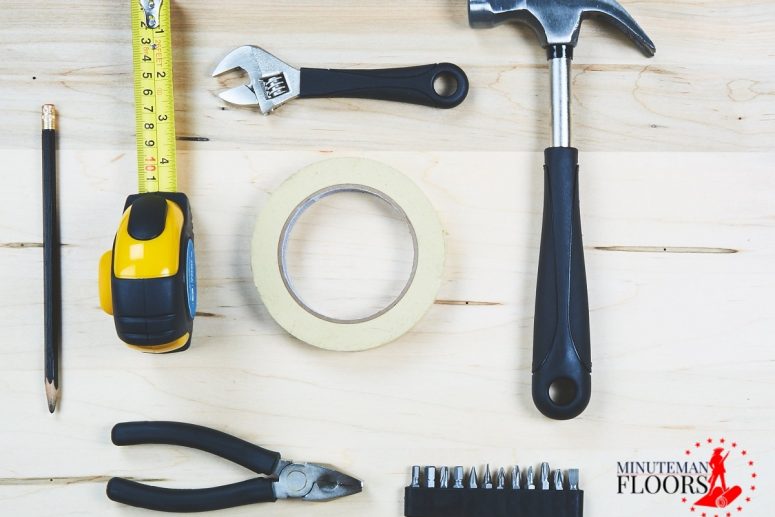
The tools you need include:
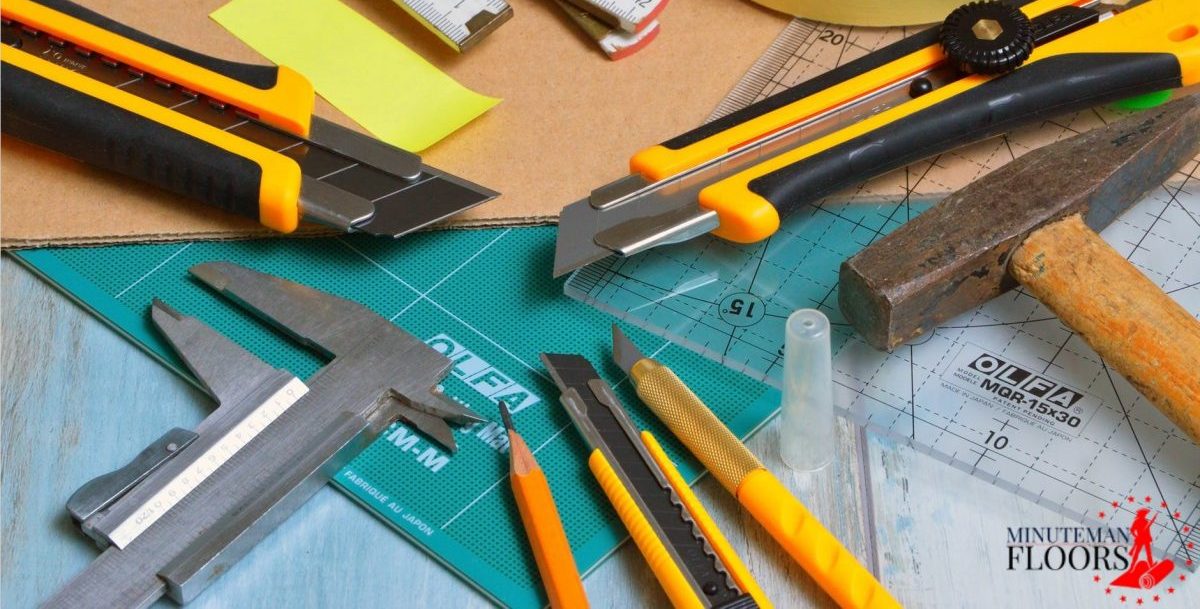
- Sharp Knife: A utility knife is what flooring experts use to cut sections of carpeting for easier removal. You will soon see that cutting specific sections of carpeting can make for easier removal all around.
- Tape: Duct tape generally works well for securing rolls of carpeting for easy disposal.
- Gloves: We recommend IronClad gloves for flooring removal work like tearing out old carpeting.
- Pliers: A good set of sturdy pliers should do for ripping up any staples used to secure the carpet pad to the subfloor.
- Pry Bar: For stubborn sections of carpeting and as an extra tool for plucking up staples, you will want a pry bar that is sized right for you.
- Hammer: A standard hammer can be used to rip up old sections of carpet that have been in place for years, and the claw end can also be used for staple removal.
- Flooring Nails: We recommend ring shank nails for a reliable hold. These nails should be long enough to drive through your subfloor.
- Old Beach Towel: You will be rolling this towel up and using it as a knee brace. Make sure you use a towel you won’t be using at the beach anymore, as it can get quite messy.

Important Things to Know About Carpet Removal
It is admirable that you want to remove your old carpeting all on your own. Once your old carpeting is removed, and the padding underneath, you will have an excellent opportunity to inspect your subfloor for defects, damage, or squeaks. Laying new carpet down will prevent you from fixing those things, so do them while you can, once your old carpet is ripped up.
The entire process of removing your carpet takes around an hour. Then comes the pad removal, which can take around 45-minutes, depending on the size of the room. So, set aside around two hours for the entire job. These tips will make the work easier and help you avoid time-consuming snags.
One thing that bears mentioning is that there can be a lot of dust trapped under old carpeting. Wear a mask over your nose and mouth if you are particularly sensitive to dust before you begin ripping the old carpeting up.
Prep the Old Carpeting
Walk to the corner of the room and start pulling the carpet up. If the section you pull on will not budge, cut a small six-by-six-inch square in the corner with the utility knife. Once the smaller piece you cut is pulled away, the larger section should come up easily. Use the pry bar and hammer claw for any sections that don’t seem to want to let go.
Watch Your Hands and Knees
Your old carpet is held in place with tack strips, and these can wreak havoc on your hands and knees if you’re not careful. They are generally found along the perimeter of your room, so take care when kneeling and handling carpet sections in those places.
Work Toward the Center
It is far easier to remove old carpet if you can manage to fold the carpet into the center of the room. Think of the carpeting like a piece of paper you are folding into thirds. Fold a single third of the carpet into the center of the room and then cut the fold free with the utility knife. Make sure you place both hands on the utility knife to cut the section away cleanly and not your finger.
Removing Old Carpet from a Closet
Removing carpeting in a closet becomes easier if you begin cutting where the carpet meets the closet doors. You will find the section much easier to handle and pull away as you roll it up into thirds. That only leaves you with a small piece of carpet to remove in the closet.
Remove the Carpet Entirely
When you are finished with this process, you will have three large rolls of carpet that you can then roll up with duct tape and take to the trash. Don’t forget the tiny section from the closet.
Removing the Carpet Padding
By now you are probably amazed that you were able to remove your old carpeting without ripping up your hands, bruising up your knees, and throwing out your back. Your job’s not done yet, however. Now comes the part where you have to remove the padding that rested underneath the old carpeting. It may sound like an easy job, but things like pet urine can quickly make carpet pad removal a nightmare for the average homeowner.
Luckily, you have these tips to make easy work of it.
Assess the Carpet Padding
Before ripping anything else up, go over the carpet padding and see what you have to work with. The pad is tacked down with staples most often. In rare cases, and unluckily for you, the carpet pad will be secured to the wood or concrete subfloor with glue. These tips will show you how to remove padding that has been secured with staples. If your pad is glued, you might need a flooring professional’s services to get the entire pad up completely.
Pull Staples While Wearing Gloves
You will want to remove the staples holding the old carpet pad to the floor. Always wear thick gloves for this process to prevent jabbing a staple into your finger.
The staples are only located along the perimeter of the padding sections. To remove the padding, grab a section and pull it up by hand. When the corner comes up, begin rolling it and duct-tape it just like you did with the carpet. You may find that your pad consists of a single long roll. Feel free to fold it over onto itself and then duct tape it again. Since the padding is ultra-light, unlike carpeting, double rolling it won’t hurt your back.
Inspect Your Subfloor
Now that you have full access to your subfloor, walk on every square foot to determine if there are major defects, structural damage, or annoying squeaks.
Possible Subfloor Problems
Pet Business
You or the previous homeowner may have had a pet that did its business one too many times. If you replace your old padding and carpeting with new selections, those pet odors will persist. No matter how many times you vacuum and shampoo your carpet, you will be reminded that your subfloor is soaked with pet urine.
Clean that mess up before you install your beautiful new carpeting. If the urine stains are really bad, you may have to cut out and replace the stained sections of wood. You can also try to clean the subfloor with a cleaner specially formulated for pet odors before replacing the pad and carpet.

Spilled Liquids
Just like pet urine, water can stain and ruin your subfloor. If the liquid stains are extensive, replacing that section of subfloor may be your only recourse. This is especially true for any areas of the floor that feel spongy or where there are visible signs of mold and rot.
If the moisture has damaged the wall studs, plates, and joists, of if the liquid spread to under the wall, you would be best served by calling a flooring professional. You need an expert who understands the structural aspects of your subfloor and who has the proper tools and experience to perform a reliable job.
A roof leak is handled just like a liquid spill, except now you have to head up to the roof to identify where your roof is leaking. Make sure you fix the hole in your roof and stop the leak before replacing your carpet padding. If the leak is not stopped, you may end up ripping up your brand-new carpet to dig at your subfloor yet again in the near future.
Squeaky Floor
To identify squeaks, walk on every wood subfloor panel and bounce gently up and down. Any squeaks or creaks can be marked with chalk for easy locating.
In order to fix these problem areas, it helps to learn about the subfloor structure and how it’s made. The subfloor panels are attached to wood joists with nails or screws. In almost all cases, fixing a squeaky subfloor is about joining the subfloor to the floor joists. For some reason, there is likely a space somewhere between the floor and the joists. Find that spot and fasten a piece of scrap wood against the joist so that it fits snugly against the subfloor. This works the same way you might stick a sugar packet underneath the leg of a wobbly table at a restaurant. Once the wood piece is inserted firmly, there should be no space whatsoever, preventing any motion or squeaks.
What if the gap is very tiny?
The easy fix here is to apply adhesive to a wooden shim. Slide the shim into the gap between the subfloor and floor joist. Don’t force the shim into place, as doing so might create a wider gap than you started with. Instead, slide it in gently until it fills the small gap.
If space isn’t the issue and you notice that the floor is separating from the subfloor, take a short screw and fasten the subfloor and floor together. The screw should be short as opposed to long, so that you don’t penetrate your flooring all the way through.
There is a technique you can use to fix a squeak from above the floor. Take a hammer and finish nails and drive a nail into the squeak-prone area. Make sure the nail goes into the floor joist. You can use a stud detector to locate floor joists for better accuracy. For squeaks caused by the floor separating from the subfloor, you should drive two nails into the floor at opposite 45-degree angles. When driving the nails, use a nail set so that the nails sink below the surface of the floor, then fill the hole with wood filler.

Remove the Staples
With your carpeting and padding removed, and with any subfloor problems corrected, you now have the fun job of removing all the staples. Leaving the staples behind isn’t a huge deal if you plan to lay down new carpet. If you are opting for another type of flooring, like tile, wood, or laminate, the staples may cause uneven flooring and a shoddy job.
Use pliers to pluck out the staples and the prybar to get up any stubborn ones. You can also use the hammer claw to yank the buggers out. The process of removing the floor staples can take some time to complete, around 45 minutes or so. Make sure you rest your knees under the folded-up beach towel to prevent bruising and soreness over the next few days.
Get a Free Estimate for Old Carpet Removal & New Flooring Installations
You now have the inside scoop to removing your old carpet the easy way. Of course, the best and far easiest method of carpet removal is to let the experts do the job for you.
Minuteman Floors in Manchester can provide you with complete carpet and pad removal, and new floor installations, for prices you can afford. We have vast experience with the removal of all types of carpeting and can help you select a unique flooring option to breathe new life into any sized room.
Call now for a free estimate to discuss carpet removal and new flooring installations done right.

